How to Build a Bio Link Funnel (No-Code Guide)
Build a bio link funnel that qualifies visitors and sends each person to the right next step. Use this practical no-code plan before you publish.
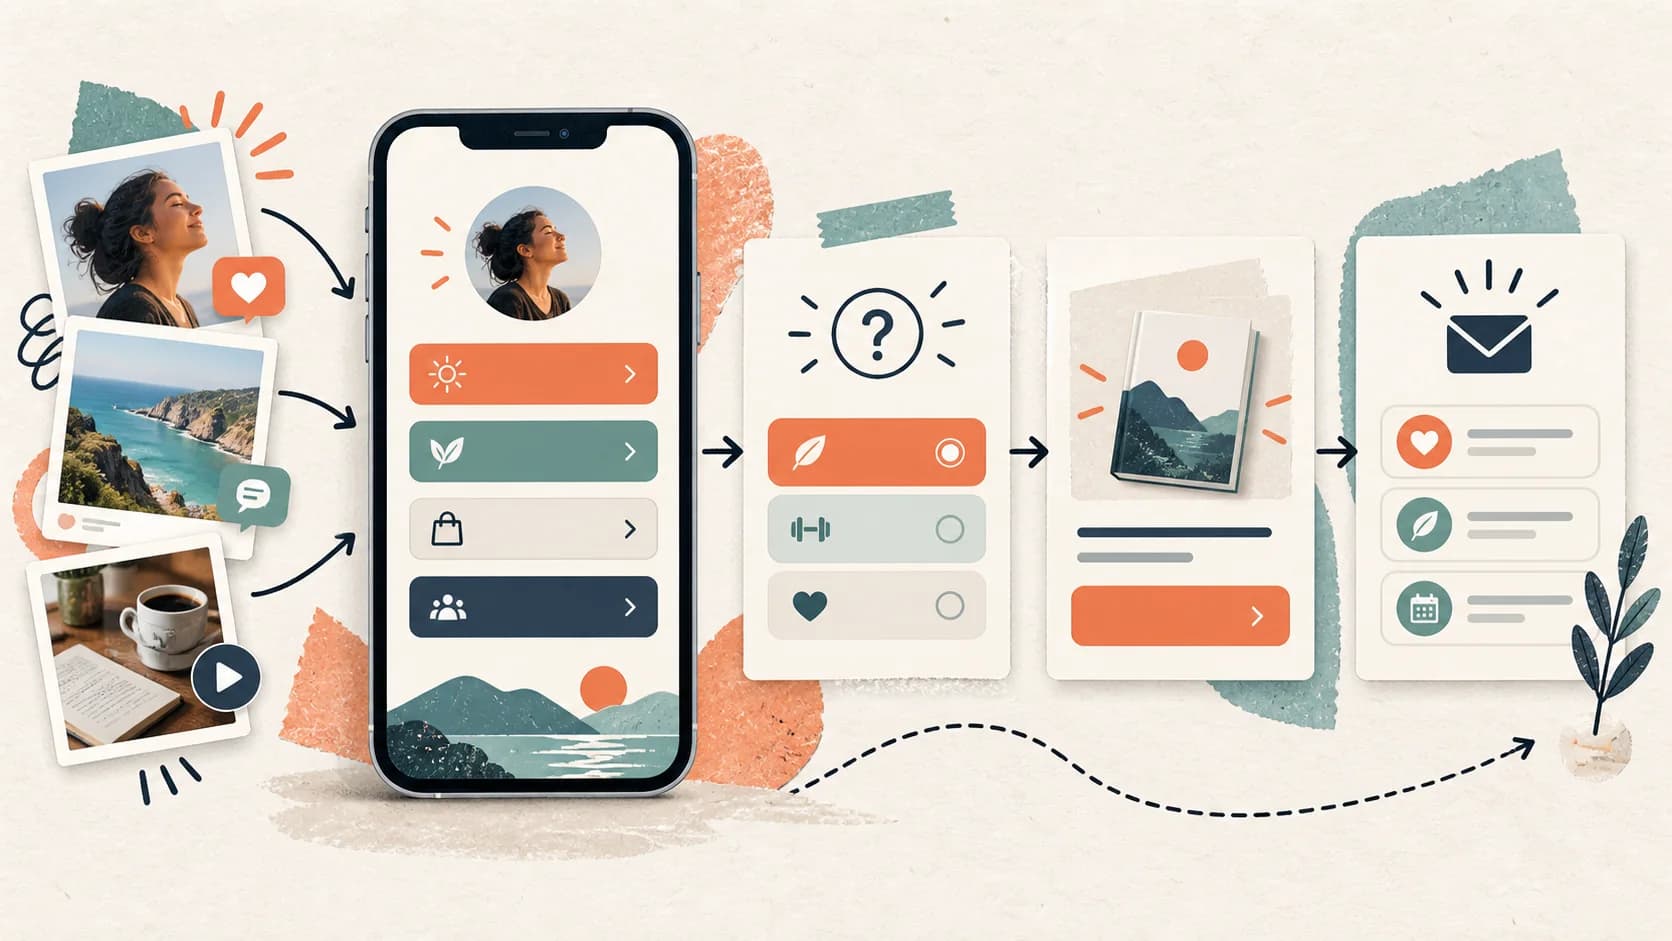
A bio link funnel should do one job that a list of links cannot: help a visitor choose the right next step. This guide gives you a small, testable route you can build without code, plus the checks that prevent a short funnel from becoming a dead end.
What we're building
A 3-screen minimum viable funnel: welcome + qualification question + personalized CTA based on their answer. Works for coaches, freelancers, creators, and any professional offering services.
What exactly is a bio link funnel?
A bio link funnel combines your public profile page (the link in your Instagram, TikTok, or LinkedIn bio) with an interactive sequence that guides the visitor toward a specific action: leaving an email, booking a call, viewing an offer, or buying a product.
Unlike a traditional landing page, a bio link funnel doesn't require a website or separate hosting. The visitor arrives, interacts, and converts without leaving the experience. If you only need one offer and one CTA with no branching, start with a landing page in your bio.
The minimum viable funnel: 3 screens
You don't need a 10-step funnel to start. The minimum viable funnel has three screens and can be built in minutes.
- Screen 1: a promise that tells the visitor what they will get.
- Screen 2: one question that changes what should happen next.
- Screen 3: a focused action, such as booking, joining a list, viewing an offer, or buying a product.
Real example
A nutrition coach asks: 'What is your main goal?' with options A) Lose weight, B) Build muscle, C) Improve performance. Based on the answer, each visitor reaches the most relevant session or resource for their goal.
Plan the route before you build
Write the route on one page before opening the builder. Start with the final actions, then work backwards:
| Route | Visitor signal | Useful next action |
|---|---|---|
| Ready now | Wants direct help or has an urgent problem | Booking calendar or paid service |
| Comparing | Needs proof, scope, or price context | Focused offer page or case study |
| Learning | Problem is real but timing is early | Practical resource and email capture |
The question must earn its place by changing the destination. “What is your main goal?” can work when every answer receives a different recommendation. “How did you hear about us?” belongs in analytics, not in the middle of the visitor journey.
Keep a fallback route for answers that do not match a special case. In SellBio, use a Basic flow for a straight sequence and Advanced mode when an answer needs to split the path. The conditional logic guide explains how to make those branches predictable.
Do not branch for decoration
If every branch ends on the same generic button, the question adds friction without adding relevance. Remove it or make the destinations meaningfully different.
Step 1: Create your SellB.io account
Create your account and choose the public username that will become your bio link. Use a name people can recognise, type, and say aloud. Before publishing, check the current plan and trial terms on the pricing page rather than relying on an old tutorial screenshot.
Step 2: Set up your bio profile
Add your photo, name, a short description of who you help, and only the social links that support the offer. A useful opening formula is: “I help [specific person] get [specific outcome] without [relevant obstacle].” This is a decision screen, not an autobiography. The bio-link landing page guide shows how to tighten that promise.
Step 3: Create your first interactive flow
Create the destination screens first. That makes it easier to see whether each answer has somewhere useful to go. Then add one question with two or three options and connect each option to its destination.
- Add a 'question' screen type with your segmentation question text
- Create 2-3 clear, specific answer options
- Connect each option to its corresponding destination screen
- On each destination screen, add one final action: booking, email capture, product, or external link
Use the visitor's language in the answers. “I need help choosing an offer” is clearer than “Strategy.” If you collect an email, explain what arrives next and when. If you sell a product, show the product itself instead of making the visitor hunt through another menu. Coaches can see a complete route from qualification to booking on the SellBio for coaches page.
Step 4: Publish and start measuring
Publish the flow and use its public URL in the social profile you want to test first. Record a seven-day baseline before changing anything: visits, starts, completed flows, leads, bookings, and sales when available. Then change one element at a time. The bio link analytics guide includes the formulas and event map.
Use your baseline, not a borrowed benchmark
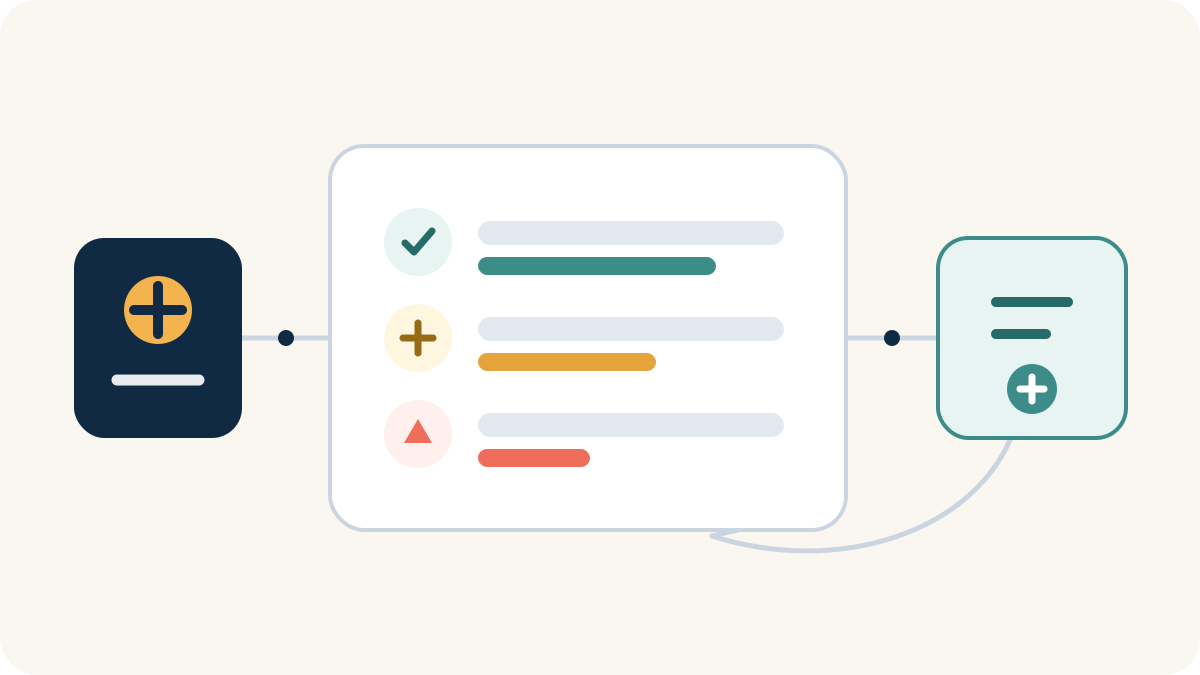
Start rate = starts ÷ visits. Completion rate = completed flows ÷ starts. Lead rate = valid leads ÷ visits. A “good” number depends on traffic source, promise, price, and visitor intent, so compare the funnel against its own previous period.
If starts are weak, revise the promise. If visitors start but abandon at the question, shorten or clarify it. If they finish but do not act, the destination and CTA are the likely problem. For a controlled comparison, follow the A/B testing guide and keep traffic source and measurement window consistent.
You have everything you need to start
A useful bio link funnel is small enough to understand and specific enough to change the next step. Start with one promise, one decision, and one action per route. Publish it, collect a baseline, and only add another screen when the data or a real visitor question gives you a reason.
Your turn
Build the first version in SellBio, test every route on mobile, and publish only when each answer ends somewhere useful.
Ready to turn followers into customers?
Sell products, capture leads, take bookings, and guide every visitor from one link.